Let’s start!
When you download Sitecore Commerce, you get Sitecore.BizFX.SDK.zip. You have to unzip it and follow the README file with the instructions to build this SDK. When you are ready with that, you can start to customize BizFx.
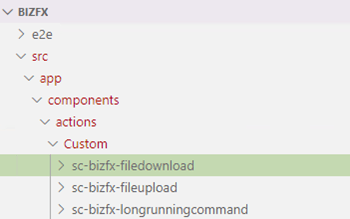
First, let’s create Custom folders under bizfx\src\app\components\actions. Under the Custom folder you have to create three folders:
Under the sc-bizfx-filedownload folder, you have to create tree files:
- Empty sc-bizfx-filedownload.component.css
- sc-bizfx-filedownload.component.html

- sc-bizfx-filedownload.component.ts
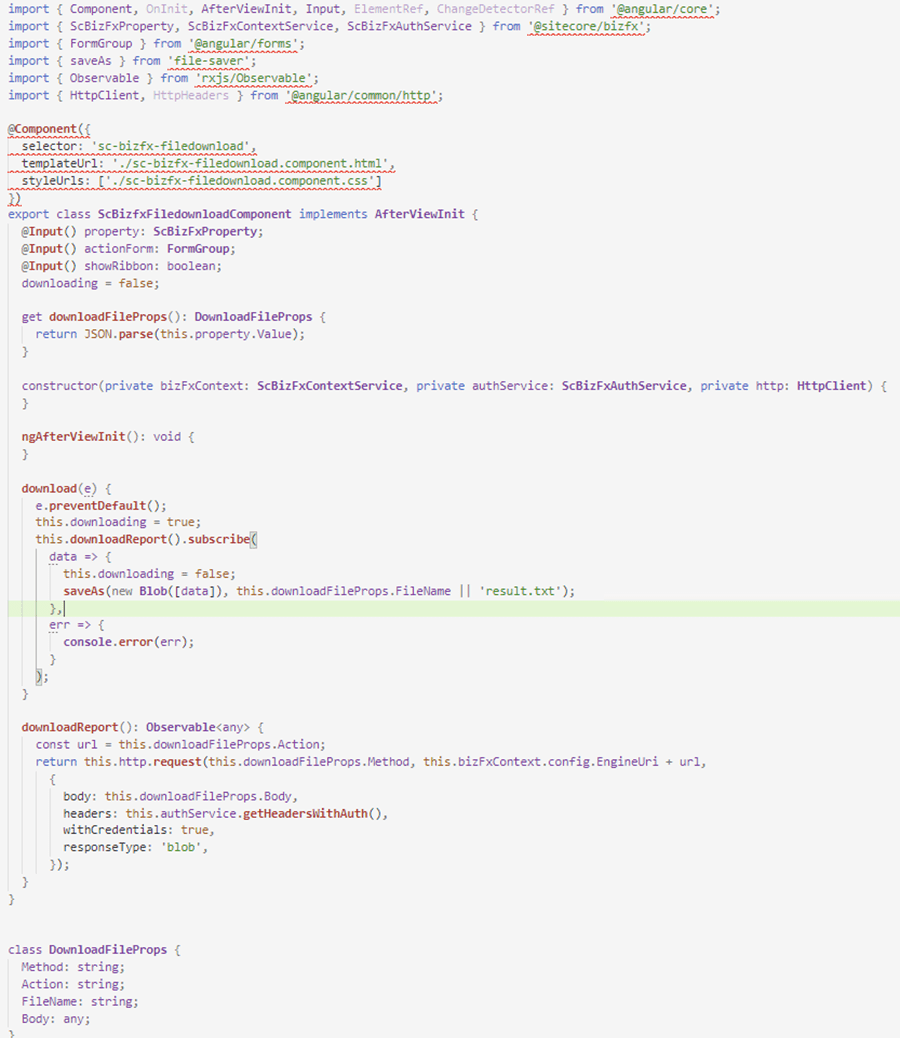
Under the sc-bizfx-longrunningcommand folder, you have to create tree files:
- Empty sc-bizfx-longrunningcommand.component.css
- sc-bizfx-longrunningcommand.component.html
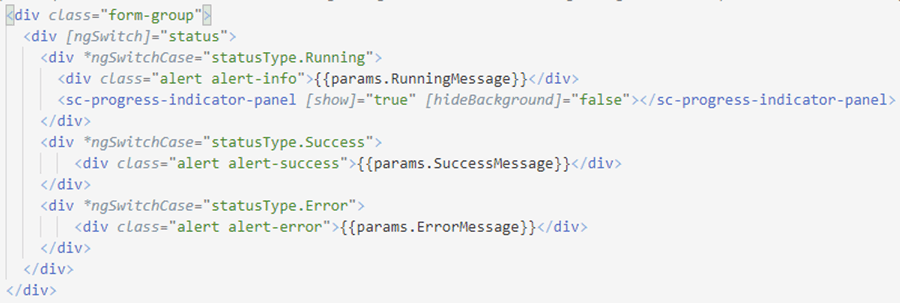
- sc-bizfx-longrunningcommand.component.ts

Under the sc-bizfx-fileupload folder, you have to create tree files:
- Empty sc-bizfx-fileupload.component.css
- sc-bizfx-fileupload.component.html

- sc-bizfx-fileupload.component.ts

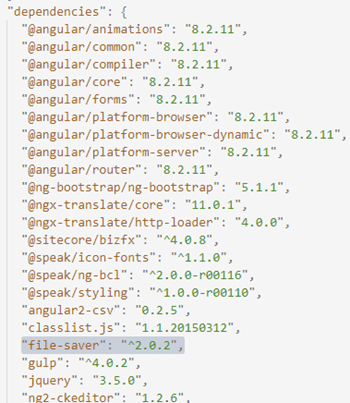
For the Download File component, it’s required to add dependency to File Saver.
Navigate to package.json file and add this dependency.
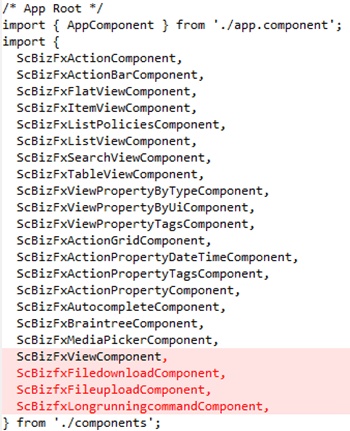
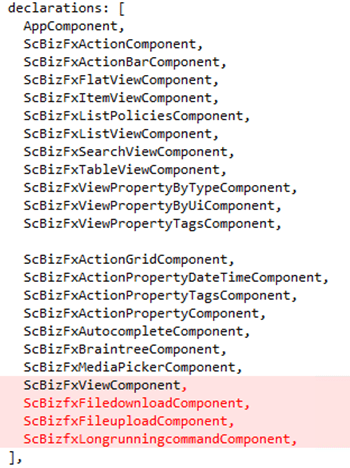
Open bizfx\src\app\app.module.ts file and add our custom components in two places:
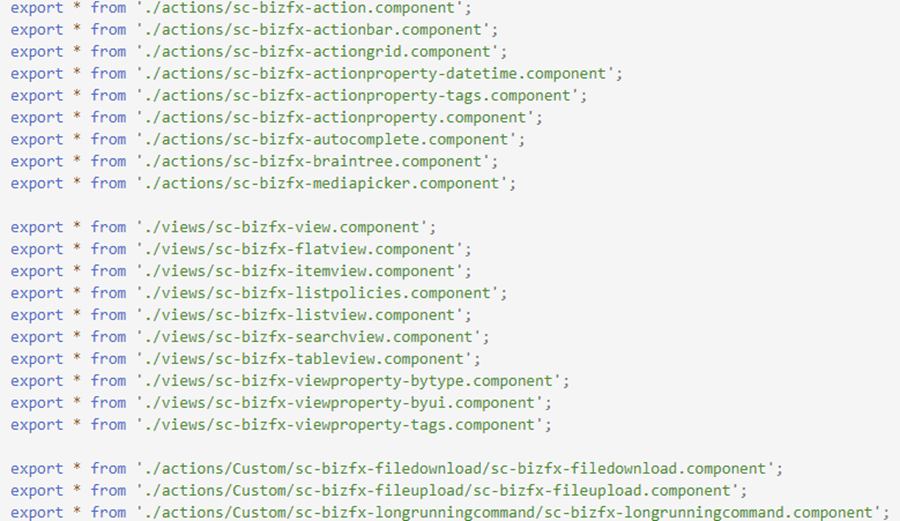
The last change needs to be done in bizfx\src\app\components\index.ts file:
Now you have to build your application and deploy it.
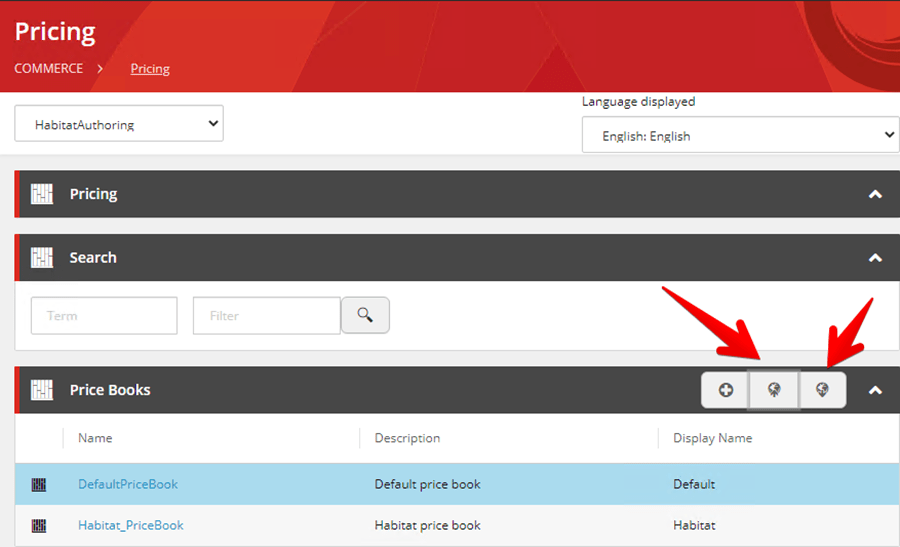
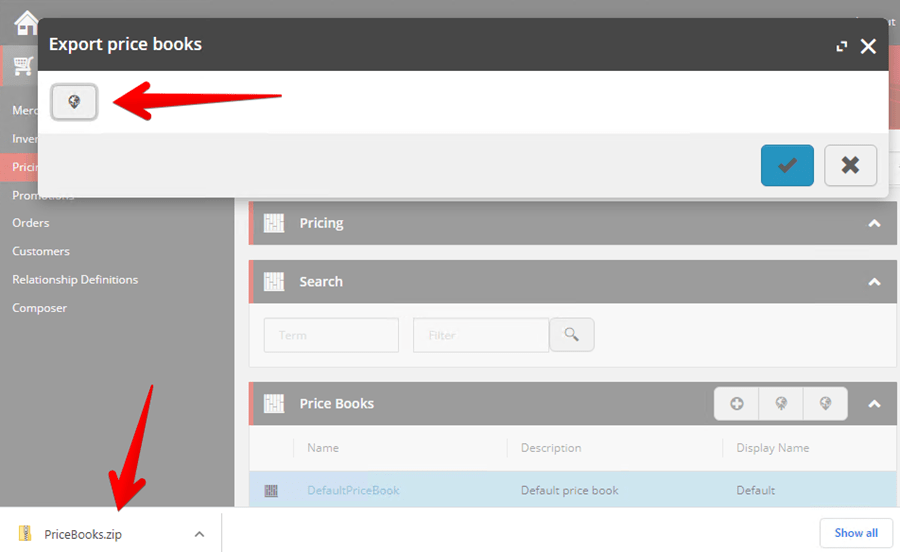
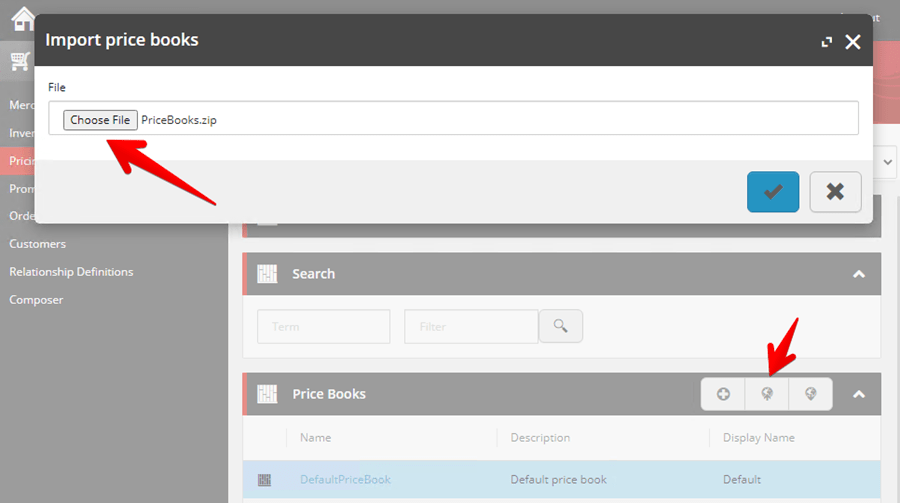
After all these changes, you can open Price Books Dashboard and see our custom components:
As you can see, it’s really easy to extend BizFx with your custom components.
Stay tuned!
